
1. Start by creating a new document (250x250).
2. Create a new layer and name it layer 1.
3. Using the circular marquee tool, make a perfect circle by holding down shift.
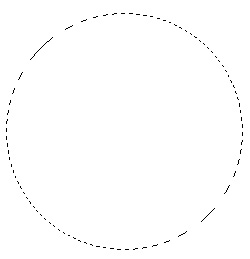
4. Fill the selection with blue (in this case, 5f8bc8).
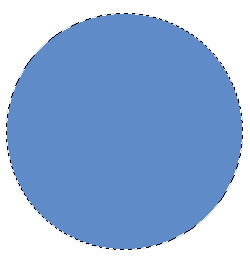
5. Set layer properties for layer 1 as shown below.
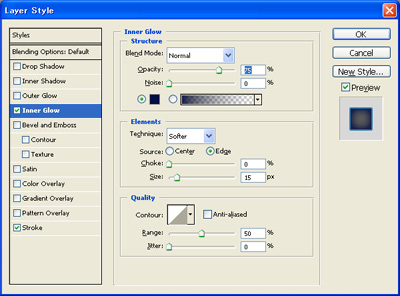
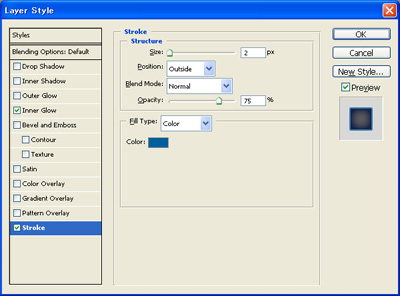
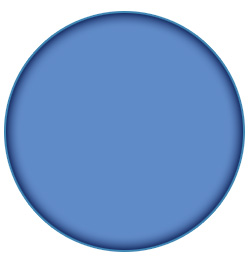
6. Duplicate layer 1 and name it layer 2. Also strip layer styles on layer 2.
7. Using a soft round brush (65 pixels, 10% opacity, light blue (b3d1fa), color dodge), bursh the top and bottom are of the orb.
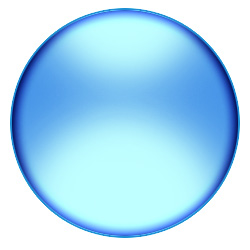
8. For a higher contrast, duplicate layer 2 and name it layer 3 and set the blending mode to overlay.
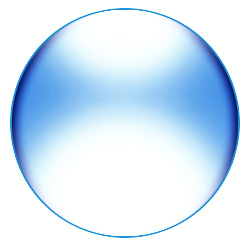
9. Add a new layer and name it text. Then add any text you want.
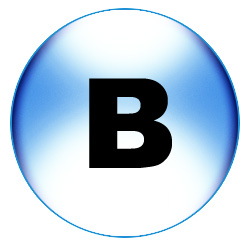
10. On top of all layers, add a new layer and name it light.
11. Using the the eclipse marquee, select a region of the button as shown below and fill it with white.
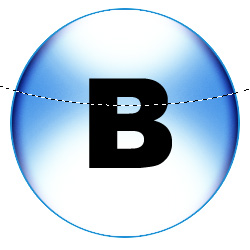
12. Change the opacity of the light layer to 25%.

Now you can merge all layers and shrink the button to the size you want.
Here are some examples of the glossy glass buttons.

Back to Menu


